4.2 Adding a person
You can
4.2.1 Adding a person manually
To add a person to the MyID database:
- Select the People category.
-
Click ADD.
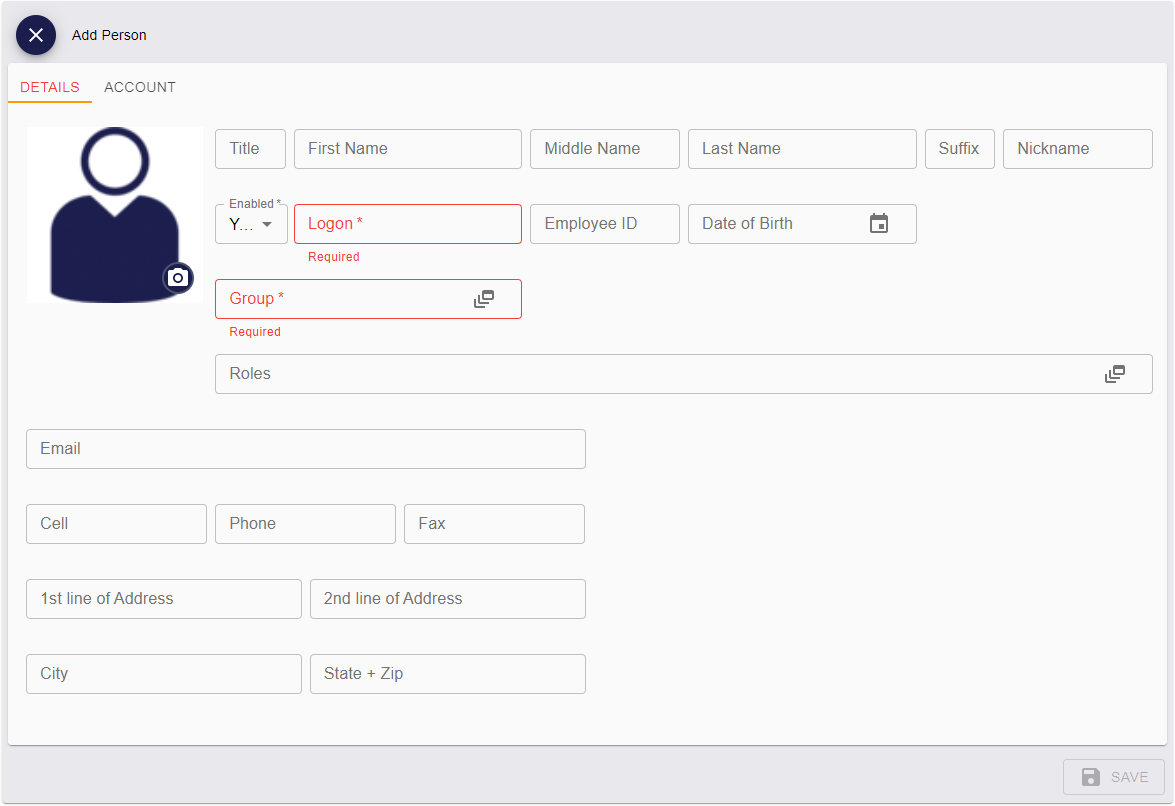
The Add Person form appears.

-
Complete the person's details.
Note: Required fields are marked with an asterisk * – the SAVE button is not available until you have completed all of these fields.
Note: The fields may have different names depending on your language settings; for example, Cell and Mobile.
The following fields are available:
- The user image. See section 4.4, Capturing images.
- Title – type the person's title.
- First Name – type the person's first name.
- Middle Name – type the person's middle name or initials.
-
Last Name – Type the user's last name.
Note: You must include one or both of First Name and Last Name.
-
Enabled – select Yes or No from the drop-down list.
If you select No, you will not be able to issue any devices to the user. You can enable or disable a person's user account after you have added them; see section 4.8, Enabling or disabling a person.
-
Logon – type a Logon name for the person.
Important: This field must be unique.
The person can use this to log on to MyID without using a card if your system is set up to allow logon using security phrases only.
-
Email – type the person's email address.
An email address is required for notifications, including activation codes, if required.
-
Group – click the open icon
 to select the group to which the person belongs.
 -
 Roles – click the open icon to open the Role selector.
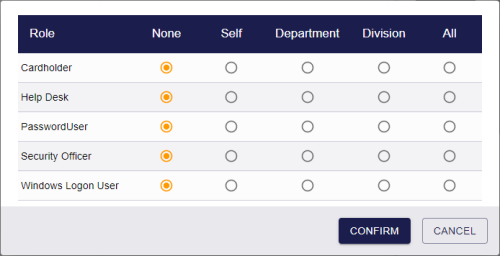
Select the roles and scope you want the person to have.
The roles for a user determine which MyID operations the person can perform; for example, to request a card.
The scope for each role determines the range of people the person can use the MyID operations on; for example, to be able to request a card only for themselves, or to be able to request a card for anyone in their group.
The available scope settings are:
- None – the person is not assigned to this role.
- Self – this limits the scope to the person’s own record.
- Department – all people in the same group as the person.
- Division – all people in the same group as the person or a sub-group of it.
- All – the role can be performed in relation to anyone.
For more information, see the Roles, groups, and scope section in the Administration Guide.
Click CONFIRM.
-
- Cell – type the person's cellphone number.
- Phone and Fax – type the person's land line phone number and fax number.
- Address 1, Address 2, City and State + Zip – type the person's address.
-
Click the ACCOUNT tab to provide details of the person's LDAP account.
For more information, see section 4.3.1, Editing directory information.
Note: Depending on your system configuration, you may have to specify a unique value for the Distinguished Name. The Allow duplicate DN configuration option determines whether unique DN values are required; see the LDAP page (Operation Settings) section in the Administration Guide for details.
- Click SAVE to add the person to the MyID database.

4.2.2 Adding a person from a directory
To add a person to the MyID database from a directory:
-
Search for a person in a directory, and view their details.
See section 4.1, Searching for a person for details.
- Click EDIT PERSON.
-
Make any appropriate changes, then click SAVE.
Alternatively, you can import a person from a directory without having to edit any of the person's details; select one of the following options:
-
Request Mobile or Request Mobile (View Auth Code) – attempts to import the person and request a mobile device. See section 4.6, Requesting a mobile device for a person.
-
Request Device – attempts to import the person and request a device. See section 4.5, Requesting a device for a person.
-
Import – attempts to import the person from the directory. Click Confirm to import the person, or Cancel to cancel the import.
The person is added to the MyID database. The person is added to an existing group if a MyID group matches their directory group.
Note: If a matching group does not already exist in MyID, you are unable to set any roles.
You can also configure MyID to assign roles to a person based on their LDAP group membership; these roles are automatically assigned in addition to any group default roles when you add a person or change a person's group through directory synchronization. For information on setting this up, see the Linking roles to LDAP section in the Administration Guide.
-
4.2.3 Adding multiple people from a directory
If you have several people to import from a directory at the same time, you can import them in a batch instead of importing them one by one.
To import multiple people:
-
Search the directory for the people you want to import.
-
On the search results page, use the checkboxes to the left of the records to select one or more people.
-
From the Tools menu, select Import.

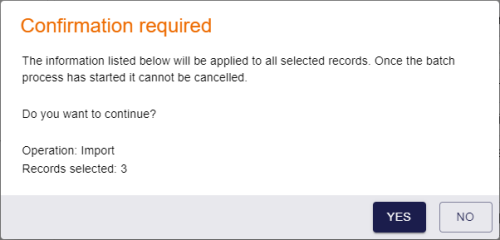
The confirmation screen appears.
-
Click Yes to proceed with the import, or No to go back to the list of people.
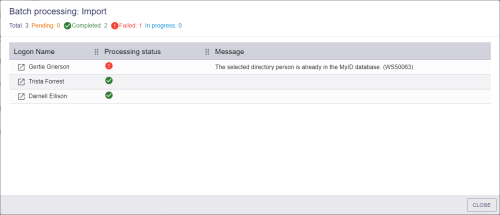
When you click Yes, the Batch Processing screen appears.
-
The imports are processed. The table shows the status of each import:

The import succeeded. 
The import failed. The Message column displays the reason for the failure; for example, the person may already be in the MyID database. -
Click Close.


